Modifying and re-deploying the PowerServer project
The following modifications are made to the PowerServer project
created in the Quick Start guide and
modified in Tutorial
1. If you have not created a PowerServer project yet, please
follow the instructions in the Quick
Start guide and Tutorial
1 to create one.
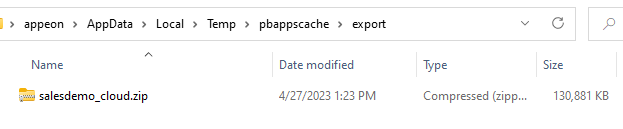
Step 1: Package the installable cloud app as a zipped file.
-
Go to the PowerServer project painter > Deploy page > Basic tab.
-
Select External as the target
run mode, and then select Folder as
the target server. -
Select Zipped file to
generate the package as a compressed zip file. -
Specify how to package the PowerServer Web APIs.
-
Framework-dependent or
Self-contained — A
Self-Contained package will not only include the app assembly
files and its dependencies, but also include the .NET Core
runtime and libraries. Users can run it on a machine that has no
.NET Core runtime installed. A Framework-Dependent package will
only include the app assembly files and its dependencies. Users
have to install the .NET Core runtime in order to run the
app. -
Portable, Windows 64-bit, Linux 64-bit, or Windows 32-bit — The target platform
that the Web APIs is published for. If you know the architecture
of the target server, you can select the corresponding platform;
if you are not sure of the server architecture, you can select
Portable. But if you select
Portable, you can only select
Framework-dependent (which
means the package will not contain the .NET Core
runtime). -
Web API site URL — If
you know where the Web APIs will be running, you can specify the
URL here; if you are not sure where the Web APIs will be
running, you can leave this field empty and specify the URL
later in the client app > apprun.json.

-
Step 2: Configure the database connection.
-
On the Database page >
Advanced tab of the PowerServer
project painter, click the New
button in the upper part. -
In the Database Configuration
dialog, configure the database connection settings (using the
PBDemo PostgreSQL database in this
tutorial). -
Select the option “I have read and agree to the license …”
in the Database driver
group.
If the following errors occur when testing the connection,
try the following solutions:-
“Exception while connecting”
Solution: make sure the firewall on the database server
has been configured to allow the database port 5432 (detailed
instructions). -
“28000: no pg_hba.conf entry for host “172.16.100.104”,
user “postgres”, database “postgres”, SSL off”Solution: edit the %PostgreSQL%12datapg_hba.conf file
to allow remote connections (detailed
instructions).
-
-
Select the database cache you created just now and map it to
the “sqlca” transaction object.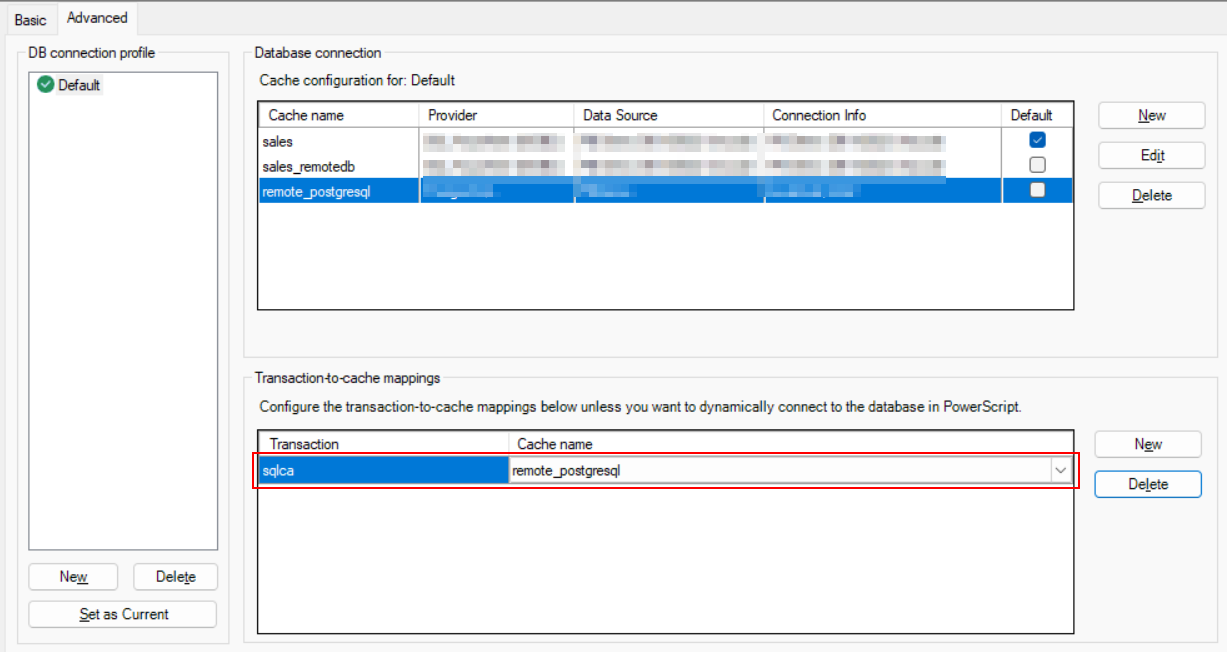
Step 3: Save the PowerServer project settings.
Step 4: Build and deploy the PowerServer project (using the “Build
& Deploy PowerServer Project” option) for the changes to take
effect.
When the build & deploy process completes successfully, the
package should be generated in the output path.