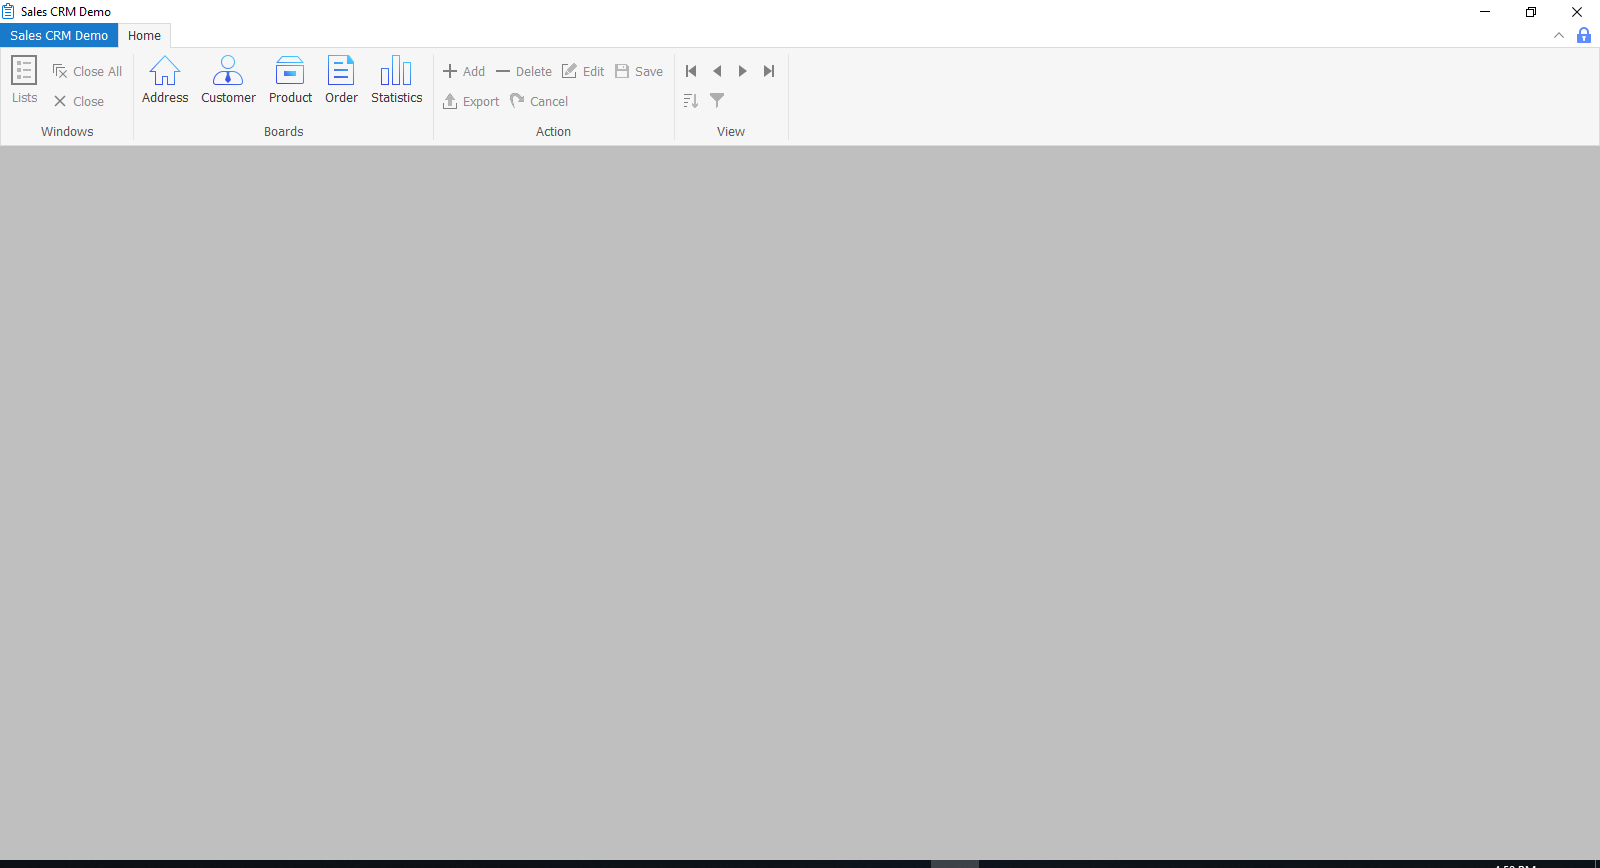
Tutorial: deploying your first PowerClient project
By completing this tutorial, you will have a basic understanding
of the key tasks for creating and deploying a PowerClient project. You
will use the Example Sales Demo to complete this tutorial.
Step 1: Open the Example Sales Demo from Windows Start | Appeon
PowerBuilder 2019 R3 | Example Sales App.
Step 2: In the PowerBuilder System Tree, expand the salesdemo target | salesdemo.pbl, double click the pc_salesdemo_asa object to open the PowerClient
project in the painter.

Step 3: View the settings in each tab of the project painter;
keep the default values, but pay special attentions to the
following:
-
the app name in the General
tab -
the selected folders and files in the External Files tab
-
the selected runtime modules in the Runtime tab
Step 4: Select the Deployment
tab in the project painter.
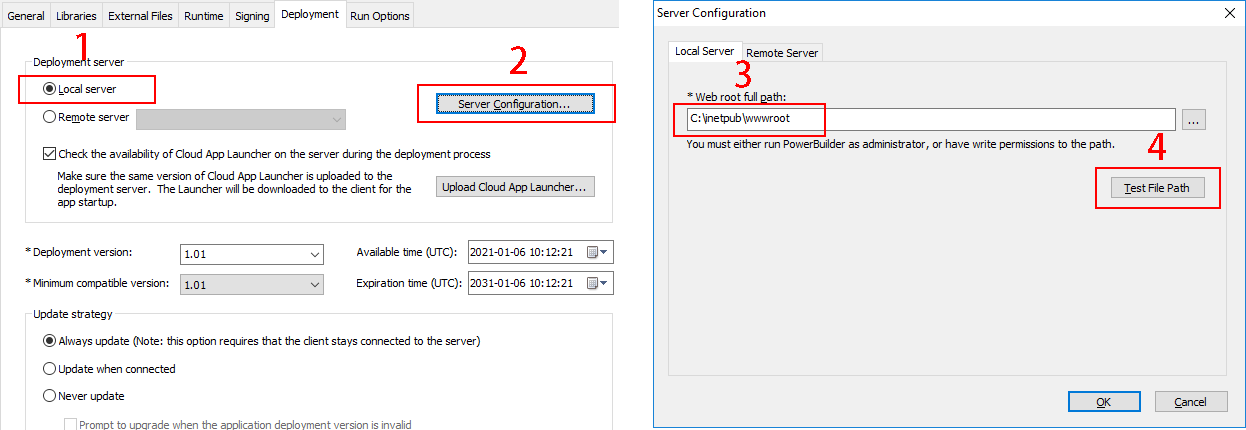
Step 5: Make sure Local server
is selected, and then click the Server
Configuration button.
In the Server Configuration
window that appears, make sure the Web root full
path is set to C:inetpubwwwroot.
Click Test File Path to ensure
the path is valid.
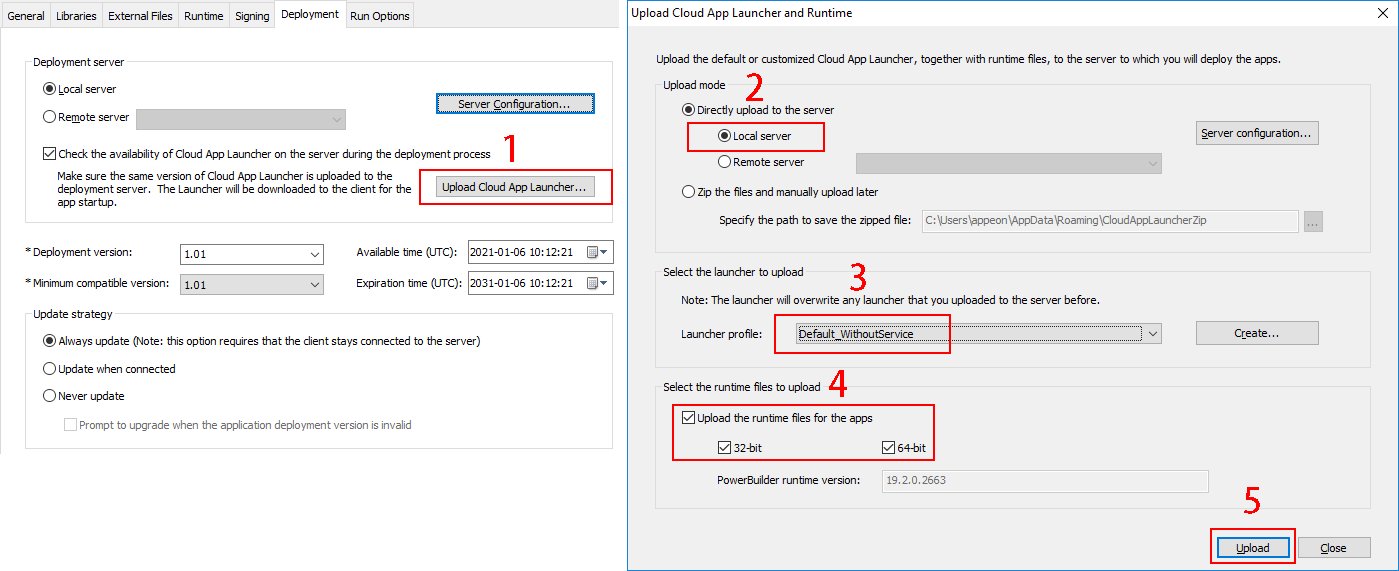
Step 6: Click the Upload Cloud App
Launcher button.
In the Upload Cloud App Launcher and
Runtime window, make sure the following are selected:
Local server, Default_WithoutService, Upload the runtime files for the apps,
32-bit, and 64-bit.
Click Upload and make sure the
upload is successful.
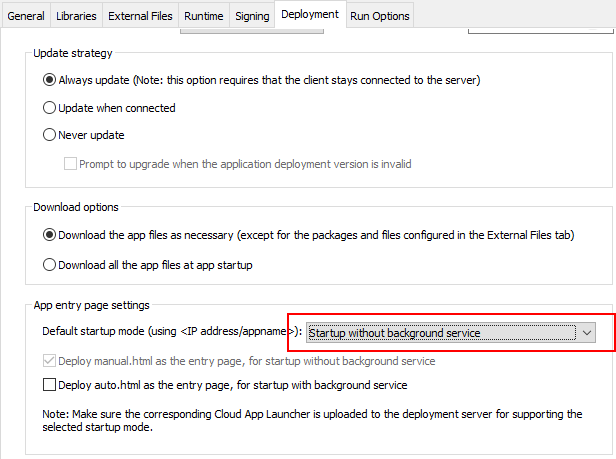
Step 7: Scroll down the Deployment tab, and select Startup without background service.
Step 8: Save the project (by clicking the Save button in the PowerBar).
Step 9: Build and deploy the project (by clicking the Build & Deploy PowerClient Project button
in the PowerBar). Or right click the pc_salesdemo_asa object and then select
Build & Deploy PowerClient
Project.
Make sure the project is built and deployed successfully.
Step 10: Run the project (by clicking the Run PowerClient Project button in the
PowerBar). Or directly access http://localhost/salesdemo_asa/ in the
Web browser.
In the app entry page that appears, click Download the Launcher to download and install
the launcher. After the launcher is installed, the application should
automatically start, if not, click Start the
Application in the entry page to start the
application.