The Clip window
You can store code fragments you use frequently in the Clip
window. You copy text to the Clip window to save it and then drag or
copy this text to the appropriate Script view or editor when you want
to use it.
Using the Clip window
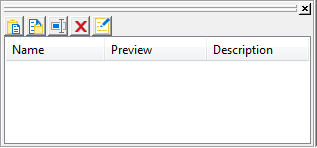
The Clip window displays a list of named clips, a preview of the
information contained in the clip, and a description. It provides
buttons to move Clip window contents to the clipboard, copy clipboard
contents to the Clip window, rename a clip, delete a clip, and modify
the clip’s description. Clips you save in one workspace are available
in all your workspaces; you might want to use a naming convention that
reflects this.
For example, you might use standard error-checking code when you
use the ConnectToServer function to connect to a server. To copy it to
the clipboard, highlight the code in a Script view and select Copy
from the pop-up menu. In the Clip window, click the Paste icon, and
name the clip. The Clip Description dialog box opens so that you can
enter a description. To change the description later, select the
clip’s name and click the Modify button.
You can drag the clip from the Clip window to any script in
which you want to connect to a server. You can also use the Copy icon
to copy the clip to the clipboard.
You can hide or display the Clip window using the Clip Window
button on the PowerBar or by selecting Window>Clip.