Installing Web Server (IIS)
Step 1: In Windows Server 2019, open Server Manager, and then select Add roles and features.
Step 2: In the Add Roles and Features
Wizard, click Next several
times until the Server Roles section
displays.
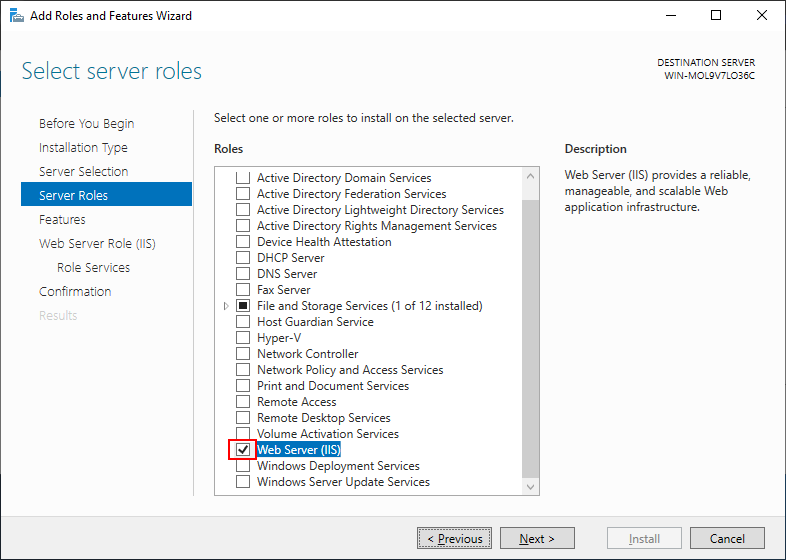
Step 3: Click the check box of Web Server
(IIS); and then click Add
Features when asked whether to add features required for
the web server.

Step 4: Make sure the check box of Web
Server (IIS) is selected.
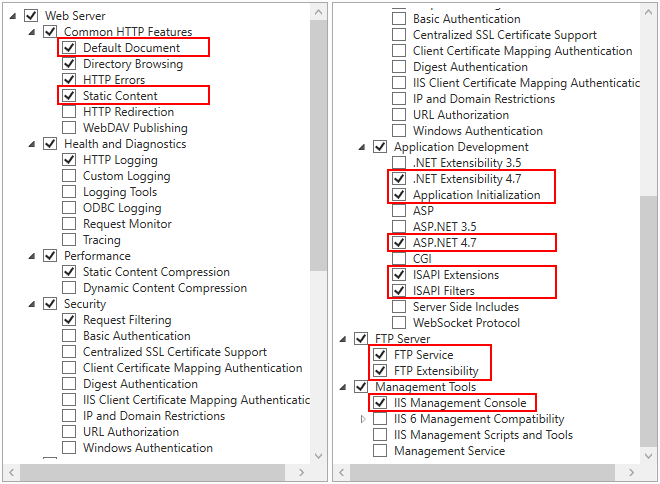
Step 5: Click Next until the
Role Services section displays. Make
sure the following role services are selected.
-
Default Document
-
Static Content
-
.NET Extensibility 4.7
-
Application Initialization
-
ASP.NET 4.7
-
ISAPI Extensions
-
ISAPI Filters
-
IIS Management Console
Step 6: Click Next and then
click Install.
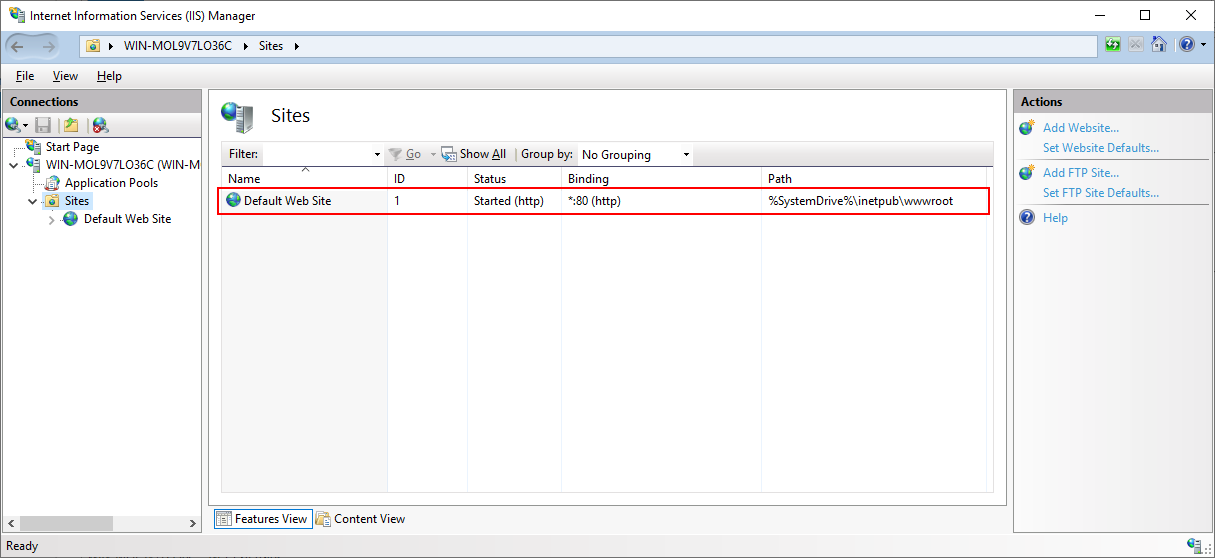
After IIS is installed, a Default Web
Site (with port 80) is automatically created (you could
also create new websites with different port numbers).
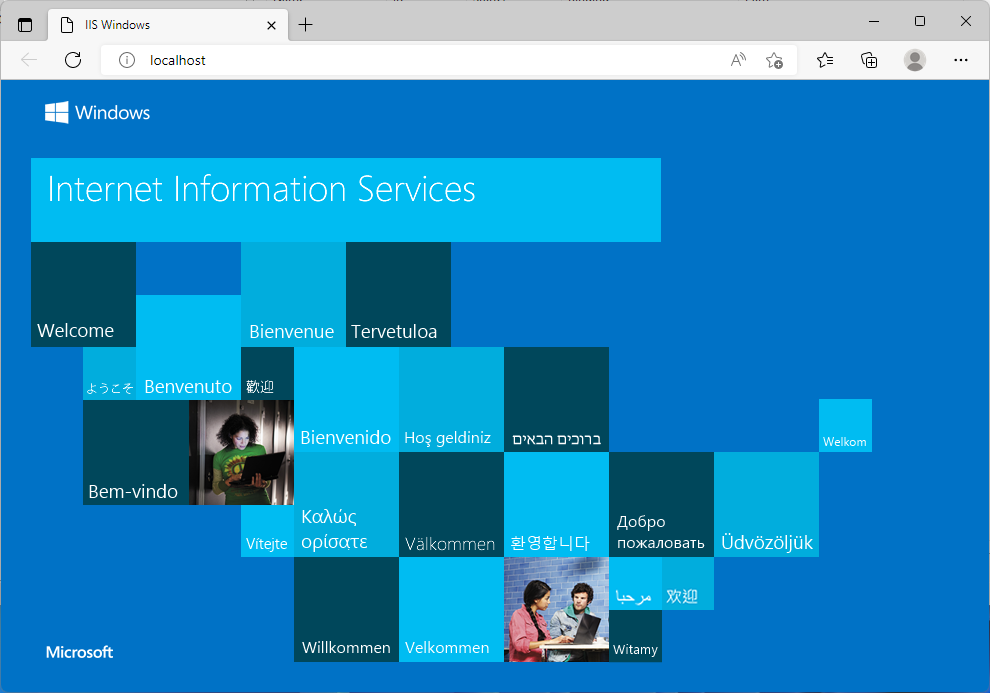
Step 7: Open a Web browser and run the following URLs to access
the Default Web Site.
http://localhost:80/
http://your_server_ip:80/
TIP: You can use “localhost” or
the IP address to access the IIS website on the local computer. To
obtain the IP address, open a command prompt window and then type
ipconfig<Enter>. Write down the IP address as it is needed when
you configure the server profile in PowerBuilder.
If the IIS welcome screen displays, the IIS website is working
properly.
Also, remember the physical path for Default Web Site which is
C:inetpubwwwroot by default (or any
other path you have changed to). This is where the client app will be
deployed.