Installing Nginx
Step 1: Download and install Nginx from the CentOS’s default
software repositories. Make sure the machine can connect to Internet
during the download and installation process.
|
1 |
$ sudo dnf install nginx |
During the download and installation process, you might be
prompted to enter the password for your user account, or enter y to
confirm that you want to install Nginx.
Step 2: Enable and start the Nginx HTTP server when the
installation is completed.
|
1 |
$ sudo systemctl enable nginx |
|
1 |
$ sudo systemctl start nginx |
Step 3: Verify that the Nginx HTTP server service is
running.
|
1 |
$ sudo systemctl status nginx.service |

Step 4: If you have set up a firewall on the server, run the
following command to permanently enable the HTTP service and port
80:
|
1 |
# sudo firewall-cmd --permanent --zone=public --add-service=http |
|
1 |
# sudo firewall-cmd --permanent --zone=public --add-port=80/tcp |
To apply the changes, reload the firewall service using the
following command:
|
1 |
# sudo firewall-cmd --reload |
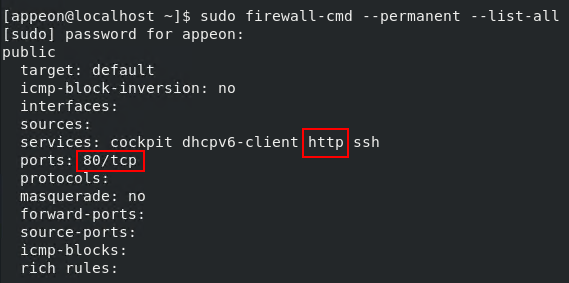
To verify that the http service and port 80 were added
successfully, you can run:
|
1 |
# sudo firewall-cmd --permanent --list-all |
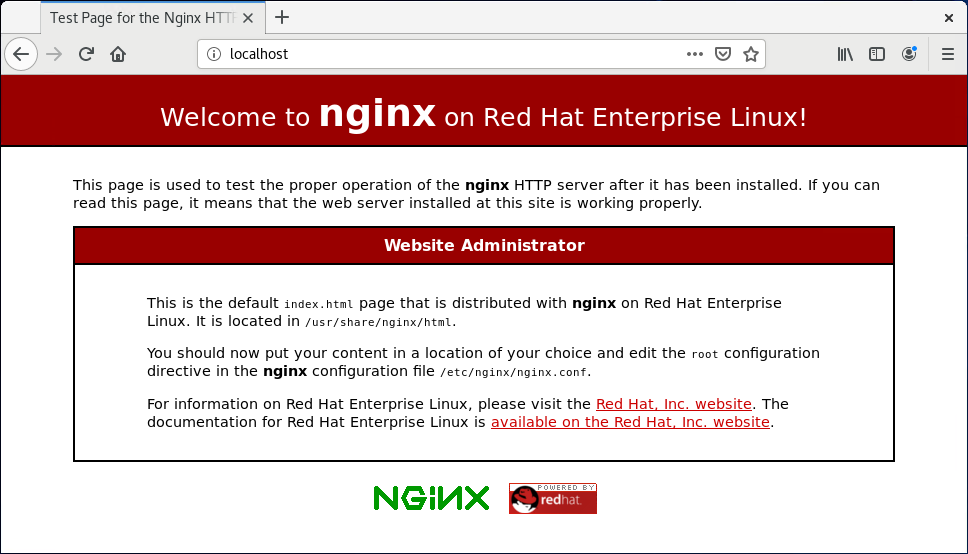
Step 5: Test the Nginx HTTP server by opening up a Web browser and
typing in the address: http://localhost.
The following page indicates the Nginx HTTP server is installed
and started successfully.
You can further test from the development PC by typing
http://your_server_ip in a browser.