How toolbars work
Toolbars you add to a window behave like the toolbars provided
in the PowerBuilder development environment:
-
Users can choose whether or not to display text in a
toolbar, use PowerTips, float the toolbar, move the toolbar around
the frame, and dock it underneath or beside any other toolbar. No
coding is required to support these basic toolbar
operations. -
Toolbar buttons map directly to menu items. Clicking a
toolbar button is the same as clicking its corresponding menu item
(or pressing the accelerator key for that item). -
Toolbars work only in MDI frame, MDI sheet, and Main
windows. If you open a pop-up window with a menu that has a
toolbar, the toolbar does not display. -
If both the MDI sheet and the frame have toolbars and the
sheet is open, then the menu that is displayed is the menu for the
sheet, but both toolbars appear and are operative. -
If the currently active sheet does not have a menu, then the
menu and toolbar for the frame remain in place and are operative.
This can be confusing to your user, because the displayed menu is
not for the active sheet. If any sheet has a menu, then all sheets
should probably have menus.
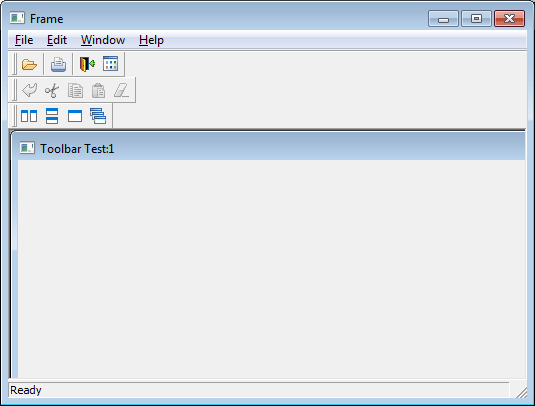
Menus with multiple
toolbars
A single menu can have more than one toolbar. When you associate
a menu that has multiple toolbars with a window, PowerBuilder displays
all the toolbars when you open the window. This screen shows a sheet
open in an MDI frame, with one FrameBar and two SheetBars:
You can work with the toolbars independently. For example, you
can float any of the toolbars, move them around the window, and dock
them at different locations within the window.
The button associated with a menu item can appear on only one
toolbar at a time. To indicate which toolbar a menu item’s button
belongs to, you set the ToolbarItemBarIndex property for the menu
item. All items that have the same index number appear on the same
toolbar.