Creating an image for the Web API
This is to create a Docker container image that contains the
PowerServer Web APIs.
This tutorial will show you how to build and publish the
PowerServer Web APIs as a Docker container image in the SnapDevelop
IDE.
Step 1: Open the PowerServer C# solution in SnapDevelop.
Click the Open C# Solution in
SnapDevelop button in the toolbar to launch the PowerServer
C# solution in SnapDevelop. Or go to the location where the
PowerServer C# solution is generated; and double click PowerServer_[appname].sln to launch the
solution in SnapDevelop.
Step 2: Add docker support to the ServerAPIs project.
-
In the Solution Explorer, right click on the ServerAPIs project node, and select
Add > Docker Support. -
In the Add Dockerfile
dialog, select the target OS: Linux or Windows, and click OK. The target OS indicates the platform
where Docker Engine and Docker Container are running.A file named Dockerfile is
automatically created according to the selected OS and added under
the ServerAPIs project. This file
contains all the commands required for building a docker image
appropriate for the selected OS.
Step 3: In the Solution Explorer, select the ServerAPIs project, and then select menu
Build > Publish ServerAPIs.
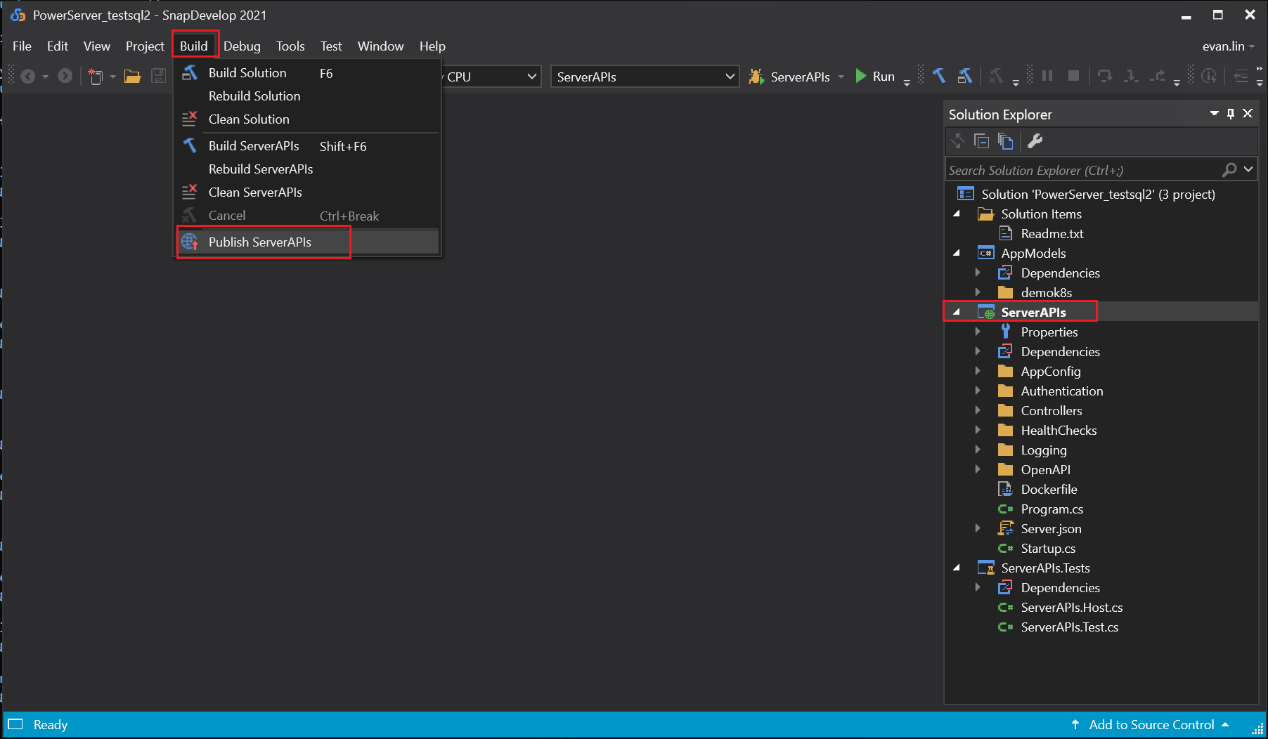
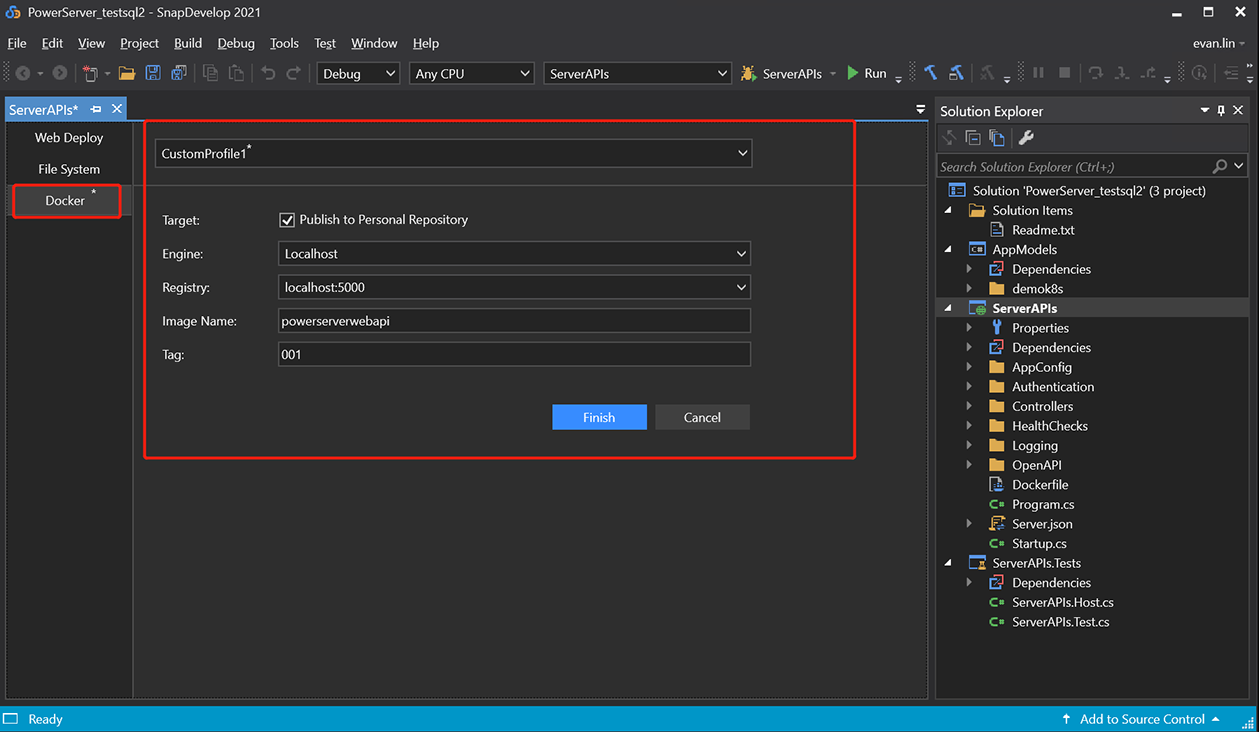
Step 4: In the window that appears, select Docker, and then click Start to configure for publish.
-
Keep Publish to Personal
Repository checked if you are connecting to your own
repository. If the repository is owned by an organization, clear
the checkbox, and enter the organization name. -
In the Engine field, select
localhost. -
In the Registry field,
specify to store the container image in the local
repository. -
In the Image Name field,
enter a name for the container image you want to create. -
In the Tag field, enter a
tag, for example, enter 001 to indicate the image version. -
Click Finish to start
building the project as an image and publishing the image to the
specified Docker Engine and docker registry.
Step 5: Check the Docker Output
window and make sure the publish is successful.
