Configuring the Application page
We will need to configure the application name, external
files, and runtime files in the Application page.
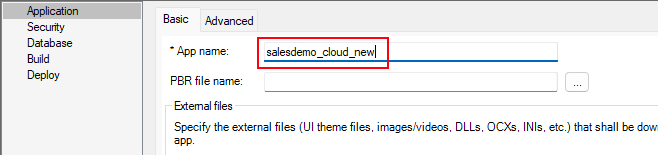
Step 1: In the PowerServer project painter, select the
Application page > Basic tab, input “salesdemo_cloud_new” in
App name as the application
name.
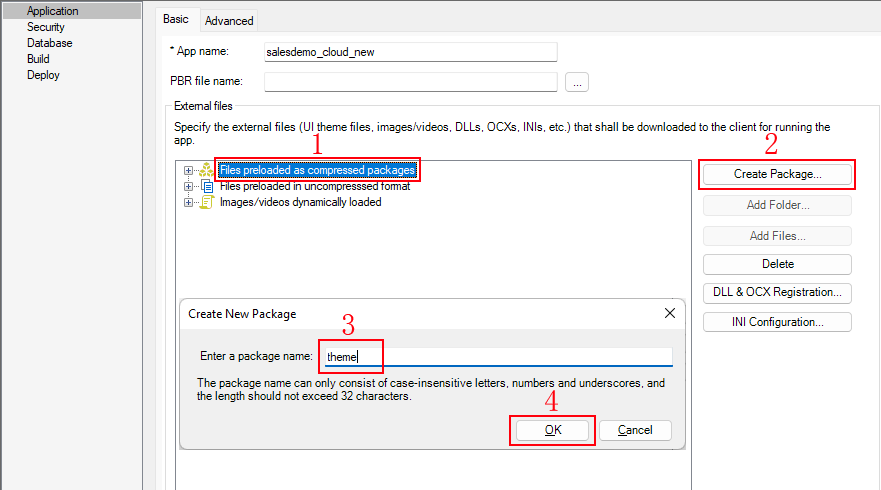
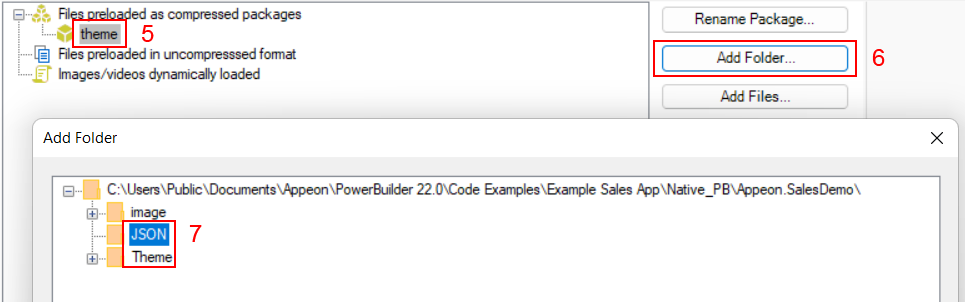
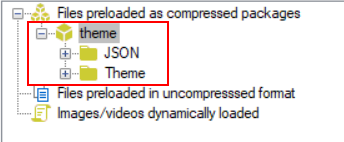
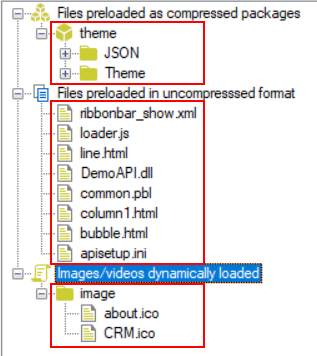
Step 2: In the External files
option group, select Files preloaded as
compressed packages and then click Create Package. Input a package name (for
example “theme”). Then select this package and click Add Folder to add these two folders one by
one: JSON and Theme, as shown in the figure below.
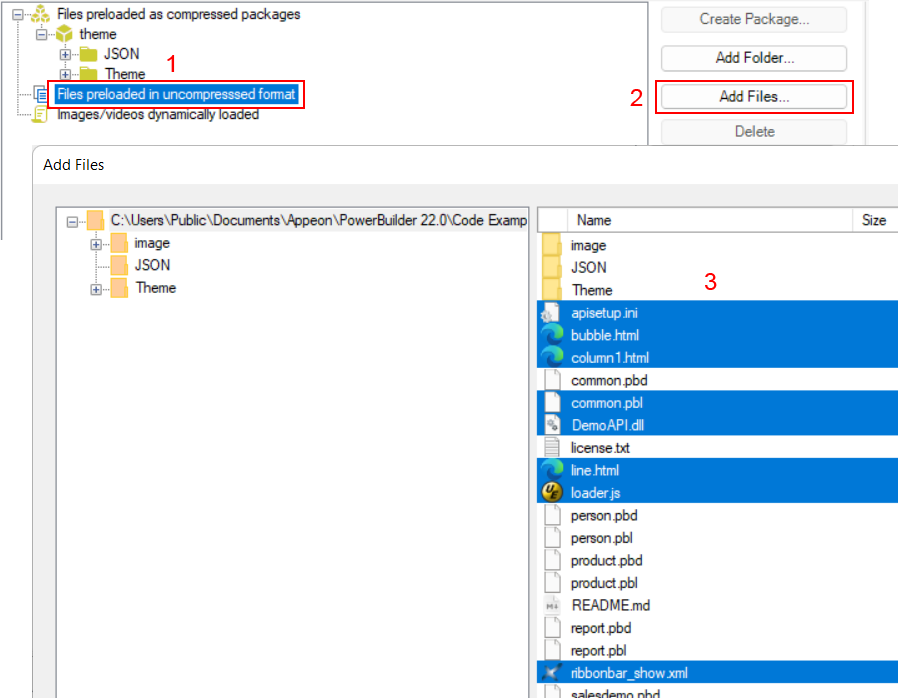
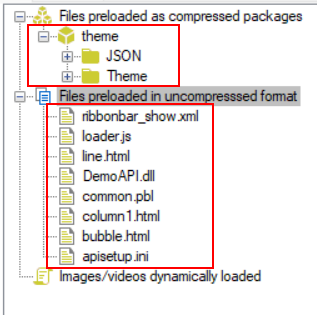
Step 3: Select Files preloaded in
uncompressed format and then click Add Files to add the following files:
-
apisetup.ini
-
bubble.html
-
column1.html
-
common.pbl
-
DemoAPI.dll
-
line.html
-
loader.js
-
ribbonbar_show.xml
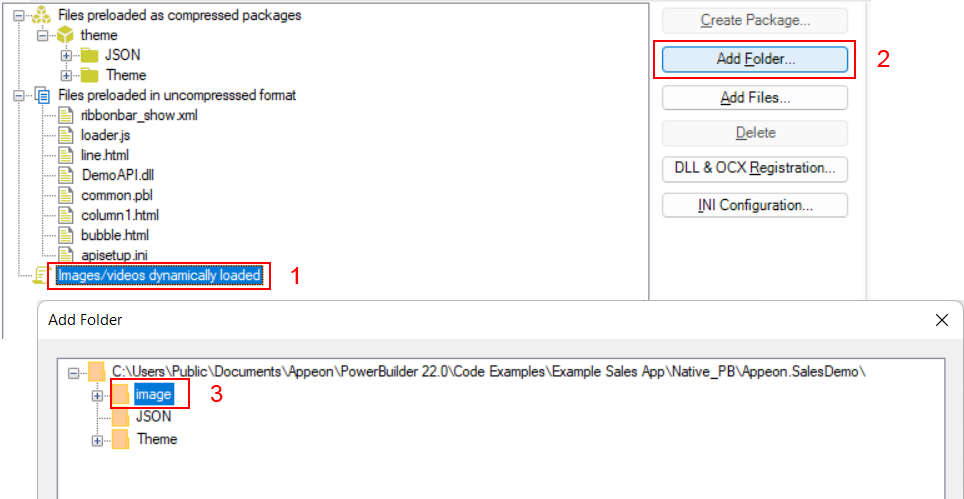
Step 4: Select Images/videos dynamically
loaded and then click Add
Folder to add the following folder: image.
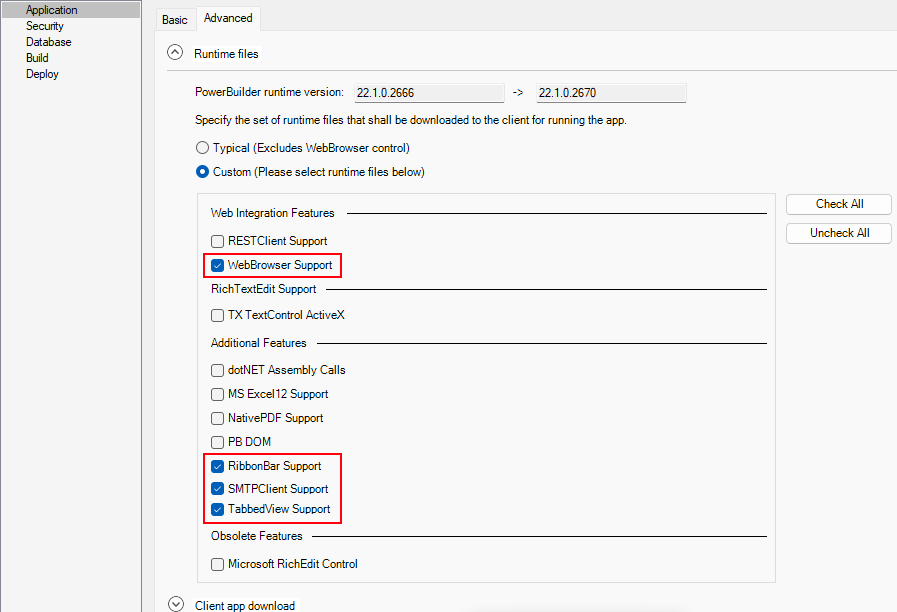
Step 5: Go to the Advanced
tab, expand the Runtime files
option group, select Custom, and
then select WebBrowser Support,
RibbonBar Support, SMTPClient Support, and TabbedView Support.