Run the installable cloud application
Before you can run the installable cloud application, make sure
you have built
and deployed the PowerServer project (or finished the Quick Start > Guide 1 to meet the
minimal requirements).
Note: IE and Edge Legacy
(EdgeHTML-based) browsers should not be used to run the installable
cloud app, as Microsoft will end support for IE and Edge Legacy soon.
You can use one of the following supported browsers: Chrome, Firefox,
and the new Edge browser (Chromium-based).
-
(For developers) Run the application by right-clicking the
PowerServer project in the System Tree and then selecting Run Project.Or click the Run Project
button ( ) in the toolbar. The Run Project button will be available in the
toolbar when the Project painter for PowerServer is opened; if more
than one Project painter for PowerServer is opened, then the
settings in the currently active painter will be used to run the
application. And the application will be run in the Web browser
according to the configurations in the Project painter for
PowerServer.After deploying the PowerServer project to the server (Kestrel
or IIS) from the PowerBuilder IDE, you can directly click the
Run Project button to run the
installable cloud app (providing that the site URL is correct in the project
painter).-
When deploying to the local Kestrel server, the Run Project button will first start the
Web APIs with the local Kestrel server and then run the
installable cloud app. You can view the logs in the Web API
console window to check if the Web API requests and responses
are successful. -
When deploying to the IIS server, the Run Project button will directly run the
installable cloud app (the Web APIs will be started by IIS
automatically).
-
-
(For developers and end users) Run the application in a Web
browser for the first time.The user can input the application URL
http://IPAddress/AppName
in a Web browser to access the application. The IP address should
point to the server where the app files are deployed. (view more)
After the cloud app launcher and the application are successfully
installed through the Web browser for the first time, users can directly
double click the application icon on the desktop or the application
shortcut on the Windows Start menu to run the application (the shortcut
icon and menu are created by default unless the developer has changed
the default settings in the Project painter for PowerServer).
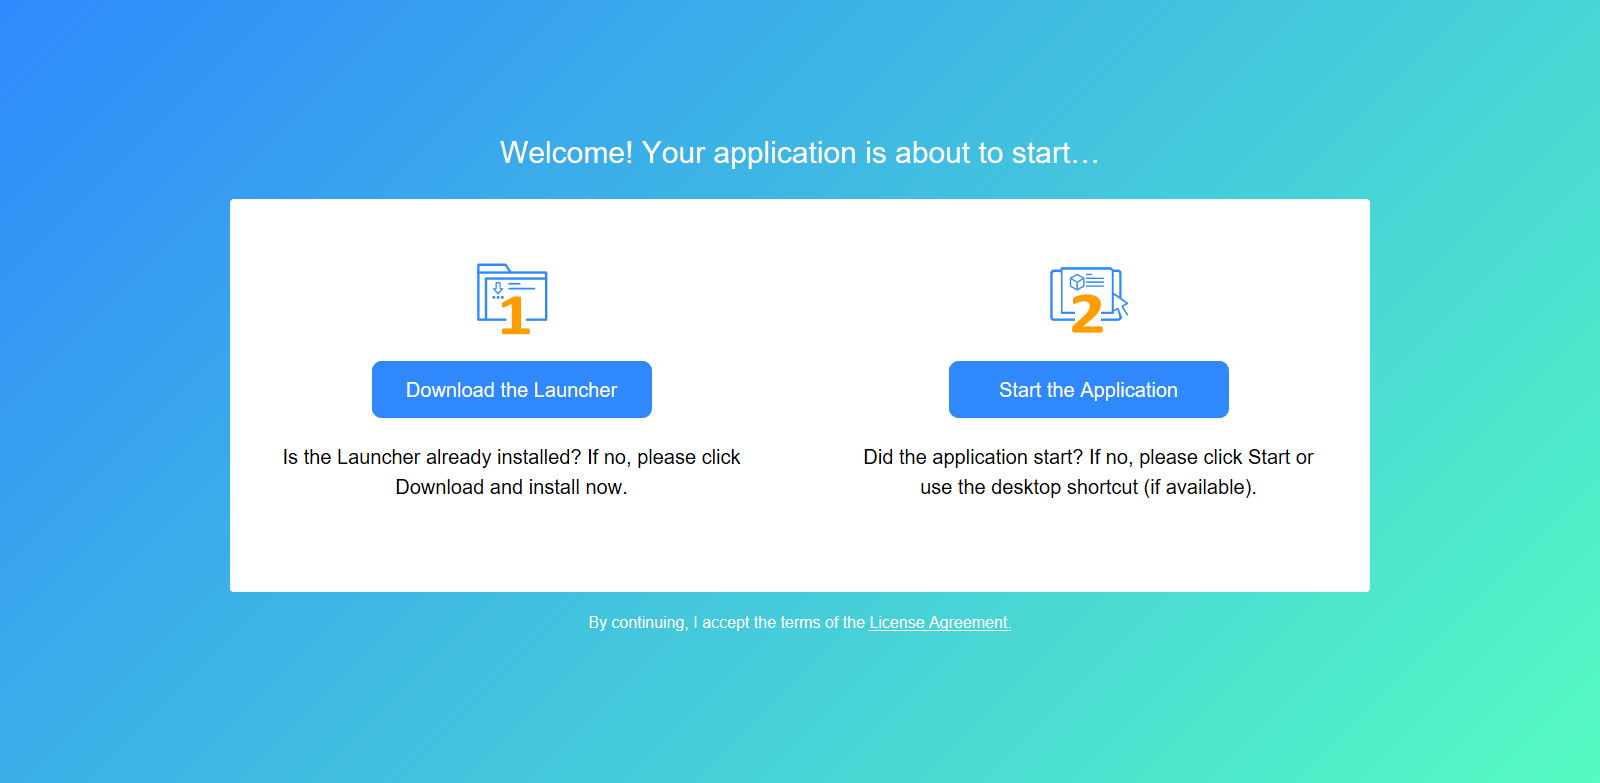
When the application starts, the following app entry displays. If
download does not start automatically, click to download and install the
cloud app launcher.

Occasionally, the user may be asked by the Web browser whether to
run the app launcher. This is a browser behavior. Select Allow. Then the following app entry page
displays. If the download does not start automatically, click Download the Launcher to download and install the
cloud app launcher first, and then click Start the
Application to download, install, and start the
application.
If any error occurs, check the Troubleshooting Guide for
solutions:
Note
The virus-detection software McAfee WebAdvisor may block the
CloudAppLauncher.exe file during the installation process. You can try
adding the domain as a trusted site. To add the domain as a trusted
site in McAfee WebAdvisor:
1. Right click the WebAdvisor add-on and select Options.
2. Under Manage your trusted
sites, add the domain and click the + symbol.
3. Close and re-open the browser and run the installation
again.
Note
If there is no response or progress when running the
application, the CloudAppLauncher.exe file might be blocked by the
Windows SmartScreen. You can try to turn off Windows SmartScreen in
Control Panel > System and Security > Security and Maintenance
> Change SmartScreen settings.
Note
Every time when the application launches, it needs to connect to
the server to check updates, therefore, please make sure the server is
running and can be connected all the time.