Creating an FTP site
In the previous section, you have selected to enable FTP Service & FTP
Extensibility in IIS. Now you can create an IIS FTP site and
set the physical path to the web root of the web server.
Step 1: In the IIS Manager, right click Sites, and then select Add
FTP Site.
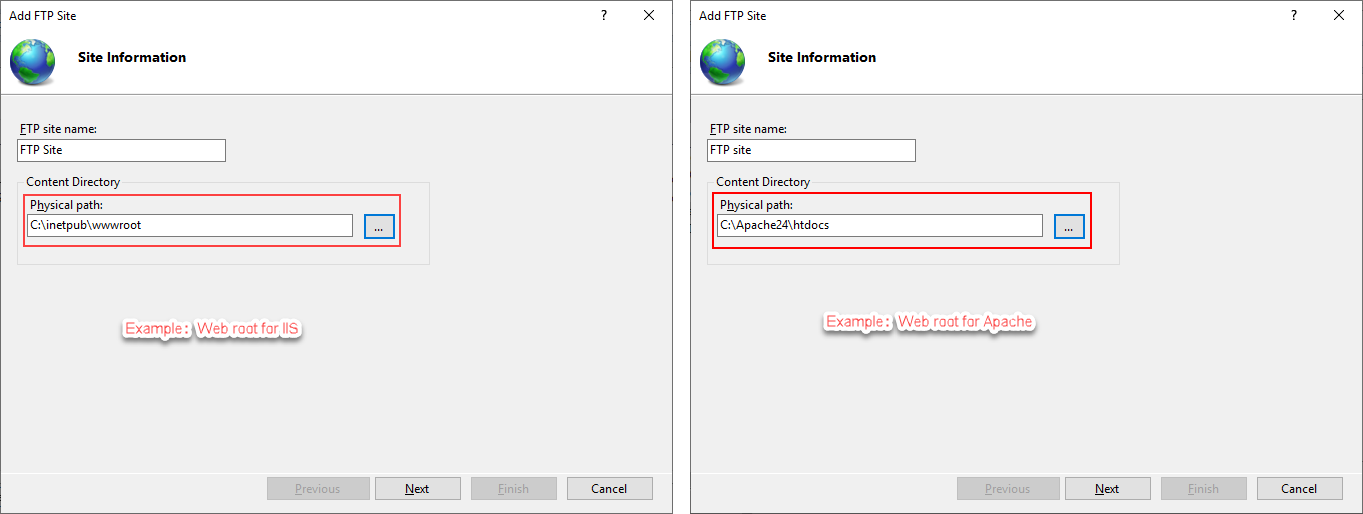
Step 2: Specify a name for the FTP site, and set the physical path
to the Web root of the Web server (for example, C:inetpubwwwroot for
IIS, C:Apache24htdocs for Apache, etc.). Click Next.
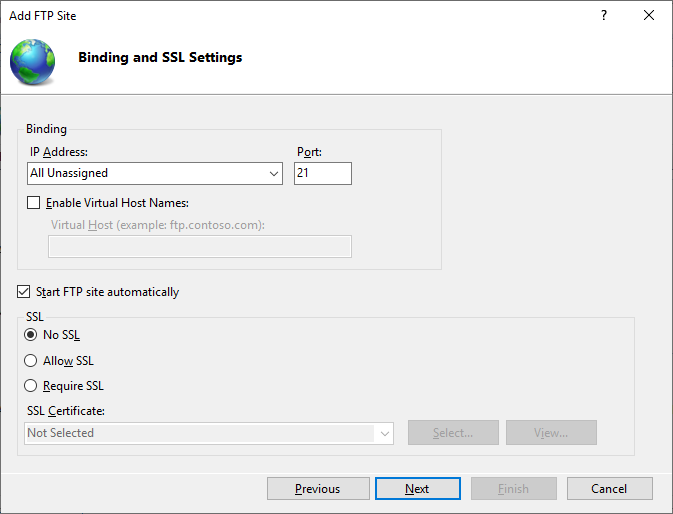
Step 3: Use the default port 21 (or specify a different port if you
like). If no certificate is available, you can select No SSL. Use the default values for the other
settings. Click Next.
For how to configure SSL on an IIS FTP site, refer to Configure an SSL-based FTP
server.
Step 4: Select Anonymous and
Basic authentication. Select All users or specify the users that are allowed to
access the FTP site, and then select the Read and Write
permissions. Click Finish.
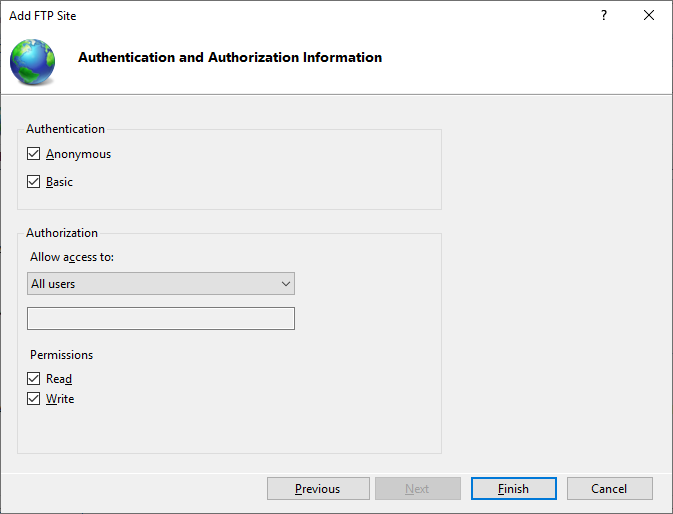
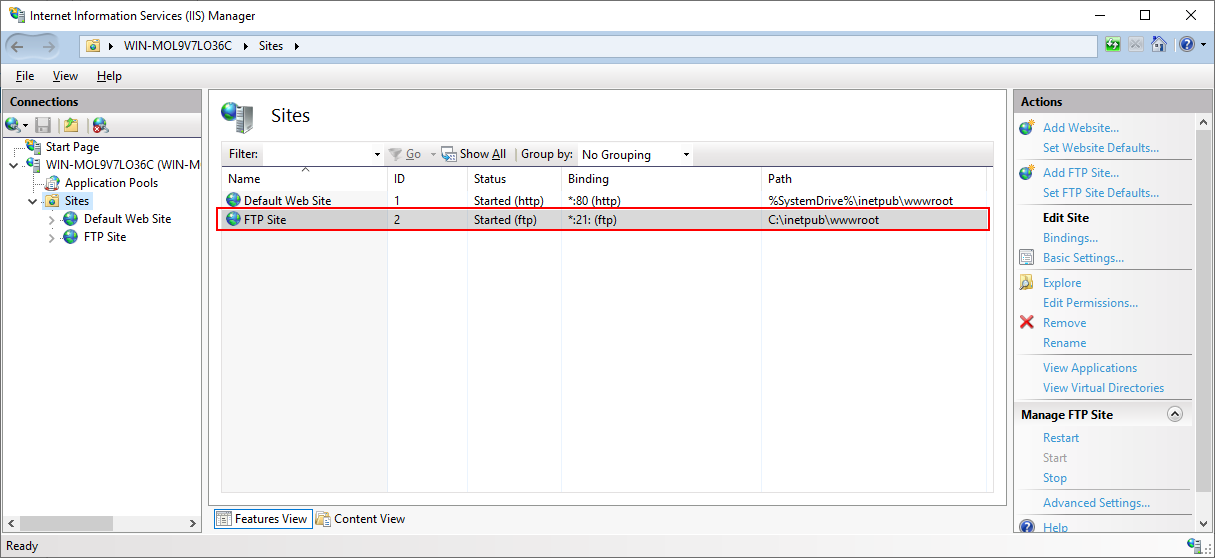
The FTP site is created.
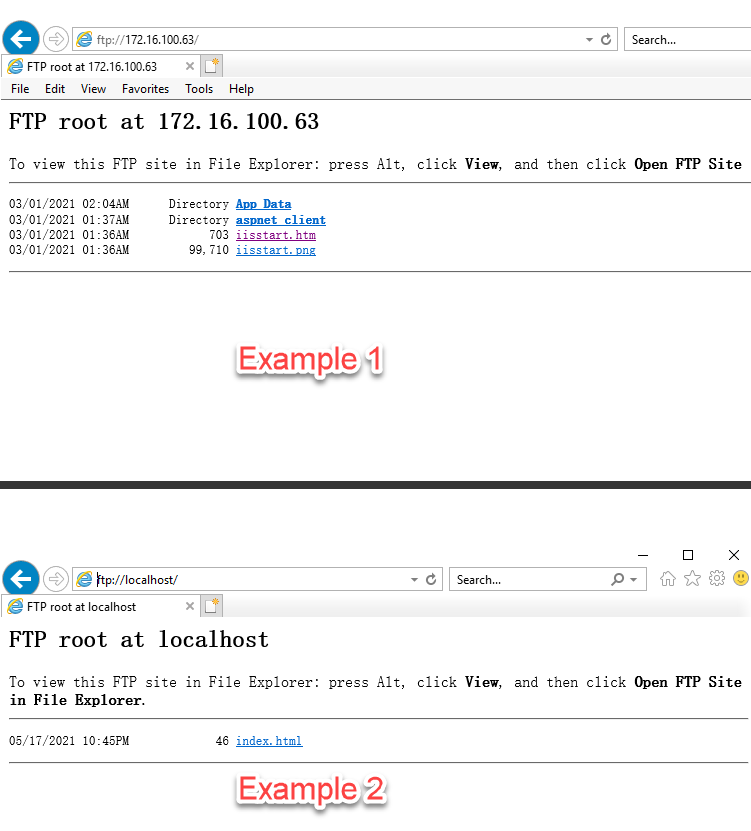
Step 5: Test the FTP site by opening up a Web browser and running
the following URL to access the FTP site.
ftp://your_server_ip:21/
If the FTP root displays, then the FTP site is working
properly.
You can further test from the development PC by typing
ftp://your_server_ip in a browser. (If access failed,
check that if the firewall has blocked the FTP port; you can try to turn
off the firewall on the server.)