Creating a target
When you create a target, you are prompted for the name and
location of a Target (.pbt) file and one or more other objects. Target
files are text files that contain information about the target.
To create a new target:
-
Do one of the following:
-
Click the New button in the PowerBar.
-
Select File>New from the menu bar.
-
In the Workspace tab of the System Tree, highlight the
workspace name and select New from the pop-up menu.
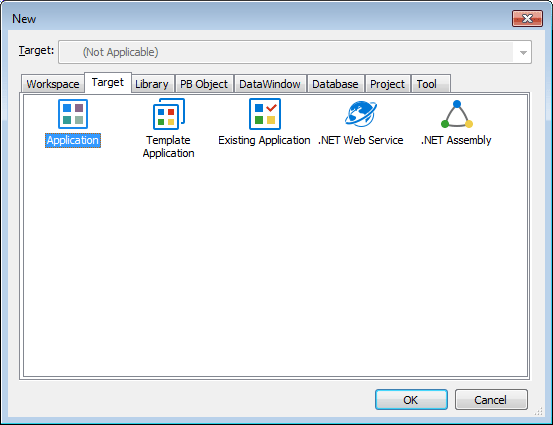
The New dialog box opens.
-
-
On the Target tab page, select one of the Target
wizards.
For more information about each type of Target wizard, see the
sections following these instructions. -
Follow the instructions in the wizard, providing the
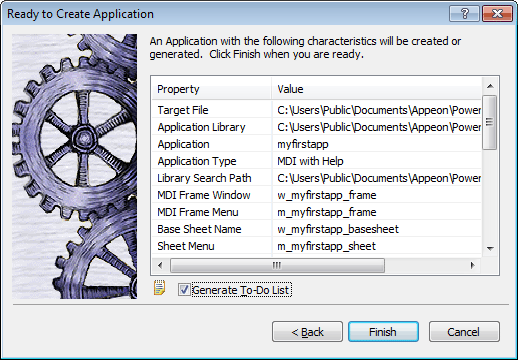
information the wizard needs.In most wizards, you can review your choices on the summary
page that displays when you have finished entering information. This
is a summary page from the Template Application wizard:
Be sure the Generate To-Do List check box is checked if you
want the wizard to add items to the To-Do List to guide and
facilitate your development work. -
When you are satisfied with your choices in the wizard, click
Finish.The objects are created in the target you specified. If you
specified that items were to be added to the To-Do List, you can see
the items by clicking the To-Do List button in the PowerBar.
As you develop the application, you can use linked items on the
To-Do list to open an object in the specific painter and view where you
need to work. See Using the To-Do
List.